Taken from PFSense website :-)
Welcome to the home page of the pfSense project!
pfSense is a free, open source customized distribution of FreeBSD tailored for use as a firewall and router. In addition to being a powerful, flexible firewalling and routing platform, it includes a long list of related features and a package system allowing further expandability without adding bloat and potential security vulnerabilities to the base distribution. pfSense is a popular project with more than 1 million downloads since its inception, and proven in countless installations ranging from small home networks protecting a PC and an Xbox to large corporations, universities and other organizations protecting thousands of network devices.
This project started in 2004 as a fork of the m0n0wall project, but focused towards full PC installations rather than the embedded hardware focus of m0n0wall. pfSense also offers an embedded image for Compact Flash based installations, however it is not our primary focus.
Click here for details
This simple tutorial is based on my experience. This software is awesome with a lot of features in it. The main reason I'm installing this software is for creating a Squid proxy server. Since this software have a lot of add-on so why not I'm trying to install it. Actually, I had installed this PFSense in my SUN VirtualBox. On the moment I'm posting this post, I'm using the latest PFSense version 1.2.2. To download the software click
here
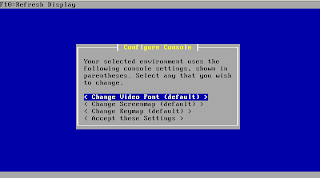
Configure Console > Choose "Change Video Font (Default)"
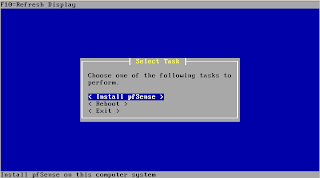
Select Task > Choose "Install pfSense"
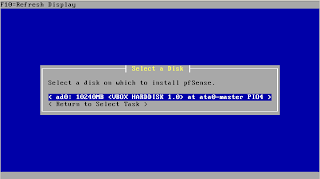
Select Disk > Select your desired disk, default is "ad0"
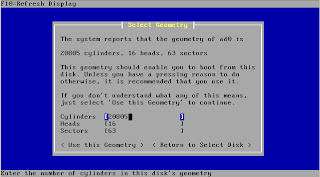
Select Geometry > I didn't change anything here, just proceed with the default, "choose Use this Geometry"
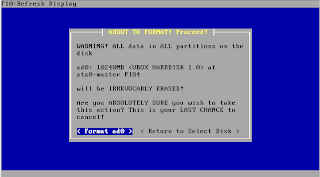
ABOUT TO FORMAT! Proceed? > Verified it first and then "choose Format ad0"
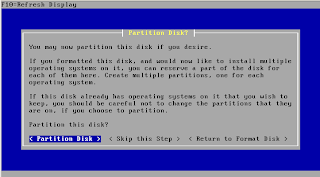
Partition Disk? > Read this first and choose Partition Disk if you satisfied :)
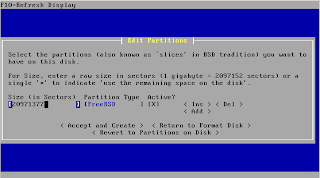
Edit Partitions > I'm using this default and choose Accept and Create
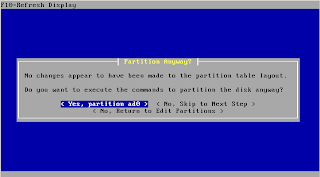
Partitions Anyway? > "Choose Yes, partition ad0"
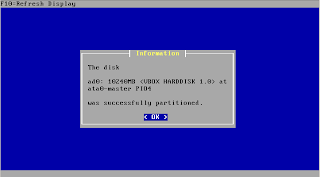
Information > The disk was successfully partitioned, ahaaaa OK
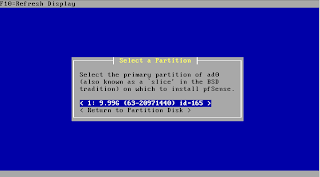
Select Partition > Select the primary partition, I choose 1:blablabla ;)
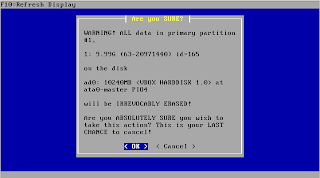
Are you SURE? Choose OK if you dare to format your disk
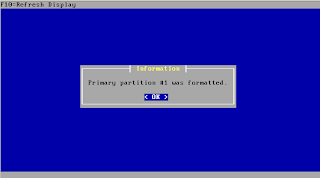
Information > Primary partition #1 was formatted.
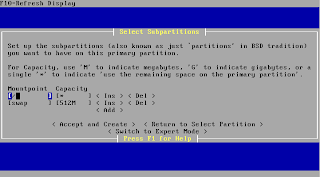
Select Subpartitions > I'm just selecting the default as below. Choose Accept and Create
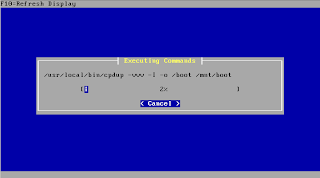
Executing Commands
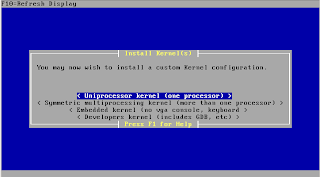
Install Kernel > Choose Uniprocessor kernel (one processor) if your system has only one processor. But, if you installed it on server maybe you should choose Symmetric multi processing blablabla
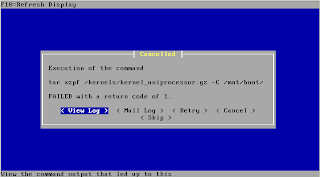
Cancelled? What the heck? I dont know why this happen but I Retry it and it works!!! Yeaa!
Install Bootblocks > I don't want headache so, I just keep the default and choose Accept and Install Bootblocks
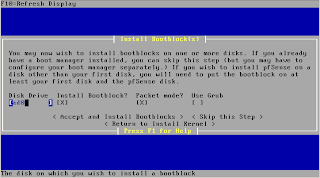
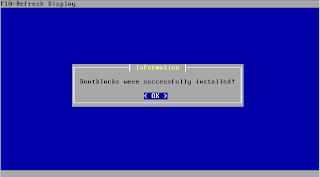
Information > Bootblocks were successfully installed
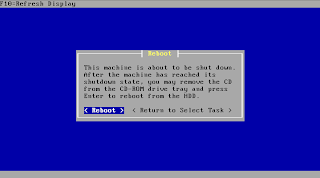
Reboot > Choose Reboot
Reboot, bip! bip! will hear the bip bip sound
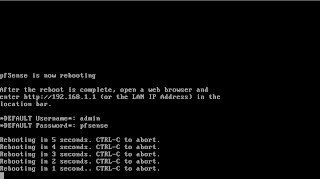
Open up the web browser FireFox or IE. Enter the default PFSense IP Address, 192.168.1.1, Username: admin and Password: pfsense to get to the page as below
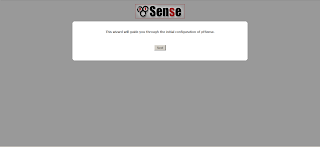
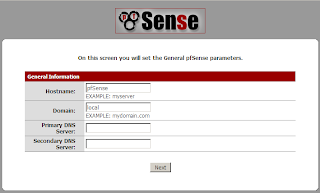
General Information
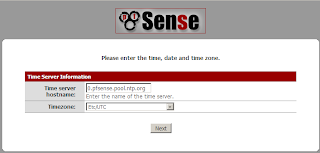
Time Server Information
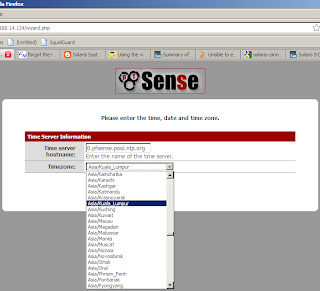
Time Server Information, choose Timezone
Configure WAN interface, I'm using DHCP at first.
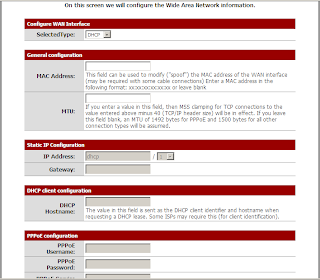
Contd..
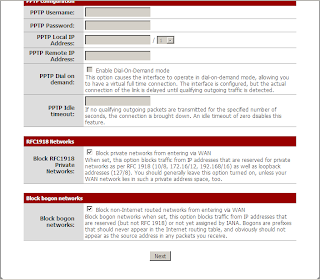
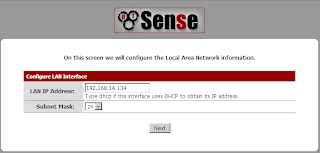
Configure LAN Interface
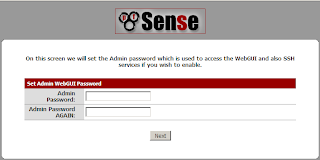
Set Admin WebGUI Password
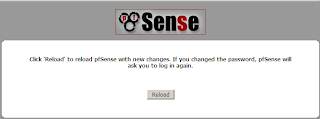
Reload, click Reload button
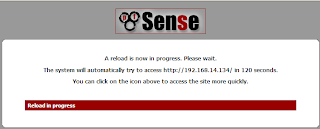
A reload is now in progress. Please wait but if unpatient click on PFSense icon :-P





2 comments:
gapo dio pfsense tu? Pokcik nok tau gok.
pfsense tu adlh software yg berasaskan m0n0wall firewall yang berlari di atas FreeBSD. Hohoho
Post a Comment